Do you want to set up a WordPress and QuickBooks Online integration? Learn how to create QuickBooks customers instantly with Formidable Forms!

Tools like QuickBooks are often essential for customer care, but using them alongside your website can be tricky. As such, you may have wondered about your options for WordPress and QuickBooks Online integration.
The good news is the solution can be simple. With just a few clicks, you can make it so any new customers added to your site from a QuickBooks form are also automatically added to QuickBooks. This can prevent mix-ups and better serve your customers.
In this article, we'll walk through three easy steps for creating customers in QuickBooks from WordPress using Zapier. Let's go!
Step 1: Create a QuickBooks form for the online integration
Before you begin, note that you'll need a Zapier account, a QuickBooks account, and the Formidable Business plan or higher to follow the steps in this tutorial. Once you have all three, you can dive in.
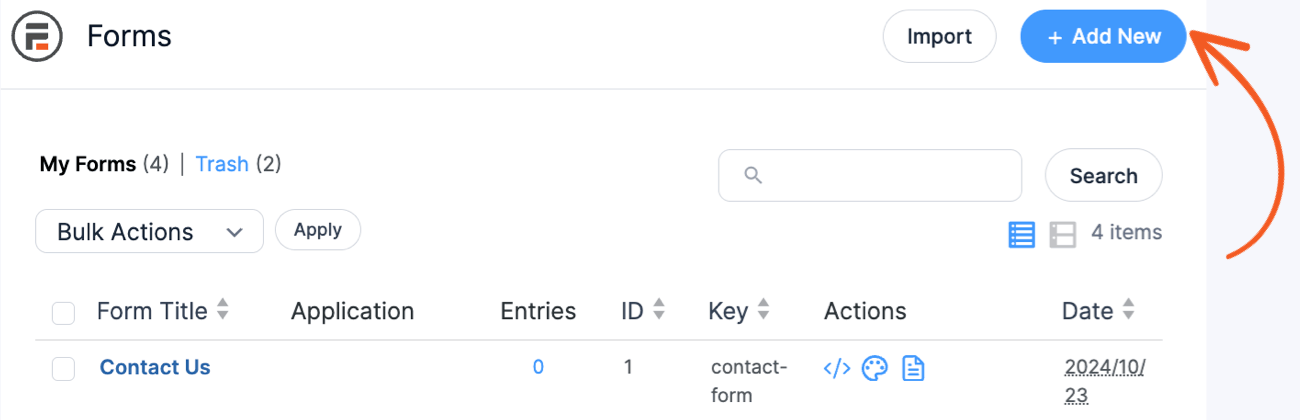
First, you'll need to create a form to collect customer data. Navigate to your dashboard and select Formidable → Forms → Add New:
Add relevant fields by dragging and dropping them into place. Try to include every piece of information that you want to store in QuickBooks. For example, make sure to include a field for an email address, billing address, payment method, and any other details you'll need to complete transactions.
You can even set this up as a WooCommerce QuickBooks integration if it's set up as a WooCommerce store product form.
After that, import any existing data into Formidable Forms. If you do not have any customer information yet, that's okay. However, you may want to add a sample entry for this walkthrough, as Zapier will use current entries to test your connection.
Step 2: Set up your WordPress Quickbooks Online integration trigger
Next, open up your Zapier account. In your dashboard, there should be a large box titled Create your own workflow. Search for Formidable Forms in one box, and QuickBooks in the other.
This will produce two more fields where you can select a trigger and action. Select New Entry with the Formidable Forms logo in the first box. Select Create Customer with the QuickBooks logo in the second:
 After that, click on Make a Zap! to set up the workflow. In the first menu option, select New Entry:

After that, click on Continue. Then, select your connected account from the dropdown menu and click on Continue again:

Finally, select the form that Zapier should pull customer information from. We named ours New Customer:

Click on Continue again to set up your zap's action.
Step 3: Select your WordPress and Quickbooks integration action
On the next screen, make sure that QuickBooks Online is listed as the app you're connecting Formidable Forms to. Then, choose Create Customer under Action Event and click on Continue:

Afterward, Zapier will ask you to select your QuickBooks Online account as you did for Formidable Forms. Once you've done so, click on Continue once more.
Finally, you'll be brought to a large menu with several fields. You will need to click on each and select the appropriate source from the Formidable Forms data, like so:

Select the corresponding data for each field. For example, we would select both Name and Last Name as the Formibale Forms fields that should be used to populate the Display Name in Quickbooks.
Click on Continue when you're done, then select Test & Continue on the following screen. We recommend trying out your WordPress and Quickbooks Online integration to make sure it works as intended and you don't lose any customer data.
Lastly, click on Turn on Zap to finish the process. If done right, your QuickBooks online account will display the information from your WordPress form:

After the integration is set up, your QuickBooks Online account will continue to pull information from your Formidable Forms entries. With a little bit of work, you can make selling your offerings online easier.
Conclusion
Having all your technology in sync is important for keeping accurate records. With Zapier and Formidable Forms, you can create QuickBooks forms to automatically create customers, and save key details collected on your website in your accounting software.
In this article, we covered three steps for automating new QuickBooks customer creation:
- Create a form to collect the information you need.
- Set up a New Entry trigger in Zapier.
- Select the correct Zapier action to add customer data to your QuickBooks account.
Our WordPress form builder plugin makes streamlining your customer management easy. Learn more about how Formidable Forms can help your site succeed!
The post How to Use a QuickBooks Forms Integration to Create Customers appeared first on Formidable Forms.