Looking for a WordPress events calendar plugin that allows you to display your events and let users submit events too? We have a code-free solution for you!
Approximate read time: 7 minutes
Whether you teach online courses or host can't-miss concerts, adding an event calendar to your website can drastically improve user experience.
Calendars also come in handy for local businesses and community-centered sites as they let visitors quickly see upcoming events in their area (or online events in their area of interest).
But creating one on your website is a different story.
Luckily, you've come to the right place. This post will show you how to make an event calendar for your website — no matter your technical skill.
So, if you're ready to start, grab your favorite drink, and let's jump in.
What is the best event calendar for WordPress?
Fortunately, creating an interactive events calendar is pretty straightforward. Especially with the right tools.
But with so many WordPress event plugins out there, it's hard to know which does what you need.
There's really no better tool than the Formidable Forms WordPress form builder. You don't have to take our word for it, though! Here's what one of our users had to say about Formidable:
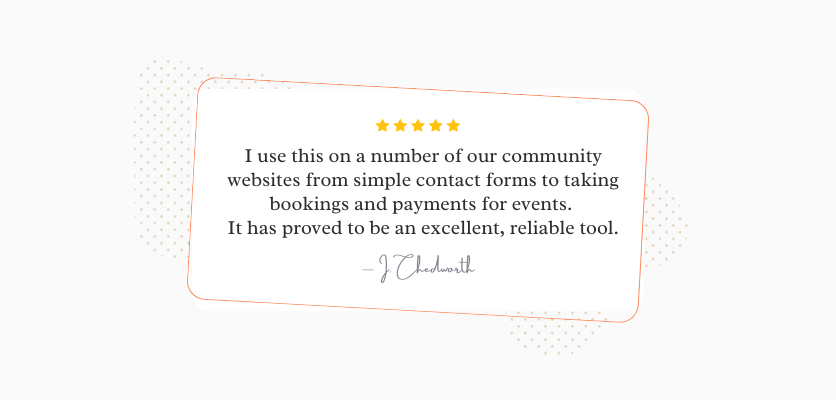
And there are tons of other Formidable Forms reviews out there echoing this opinion.
The best form builder features include everything you need to organize events, all in one plugin. From calendars and registration forms to feedback surveys, it's all here. You don't get that with events plugins.
And since there's no better WordPress form builder than Formidable Forms, let's show you how to use this plugin to create an event calendar for your website.
How do I create an event calendar in WordPress?
As we said, you'll need our event calendar plugin installed on your site to follow along with this tutorial.
To add an event calendar plugin to WordPress all you have to do is download Formidable's free plugin, then click below to purchase a premium license and activate it on your site.

Never installed a plugin before? This step-by-step guide tells you everything you need to know.
Once you have this fantastic form builder on your site, there's one more quick step to turn it into a powerful online calendar creator. Go to Formidable → Add-Ons in your WordPress admin.
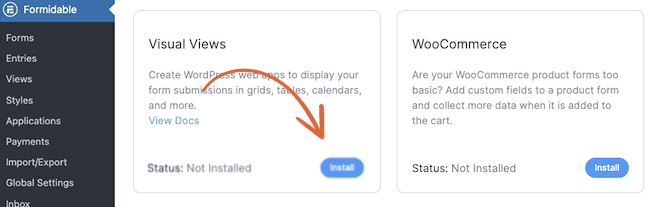
Click to Install, then Activate, and you're ready to go!
Step 1: Build a WordPress form for new user-submitted events
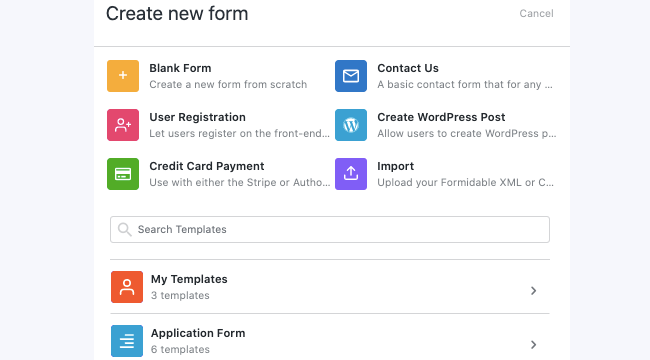
After you've installed the plugin and Views add-on, head to Formidable → Forms → Add New.
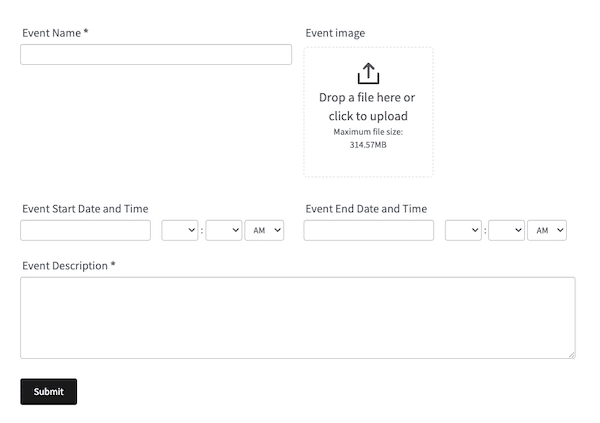
Now, pick a template or build your front-end event submission form from the ground up. For this example, we'll use the Event Planner template as a base to save time. Then we'll customize the form to fit our needs by adding, removing, and editing fields.
 You don't have to use this or any other event form template. But if you start with a Blank Form, it must at least include an Event Name field to display entries on your calendar.
Name your form to open the form builder, where you can delete, add, or edit any fields you like.
Some form fields you may want to add for event listings include:
- URL field with a link to buy event tickets
- Dropdown field to select a time zone
- Geolocation field to add Google Maps to your form
- Text fields for descriptions of the event, organizers, and venue
Since we're just making a simple calendar for a school website, our basic form looks like this:
When you're happy with your form, click Update to save your changes.
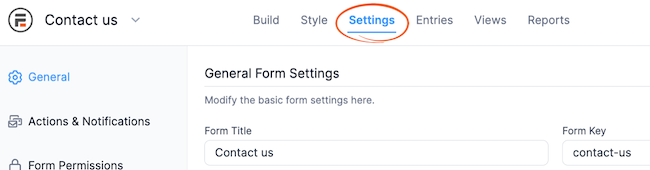
Next, we'll define the settings to limit form visibility and submission permissions.
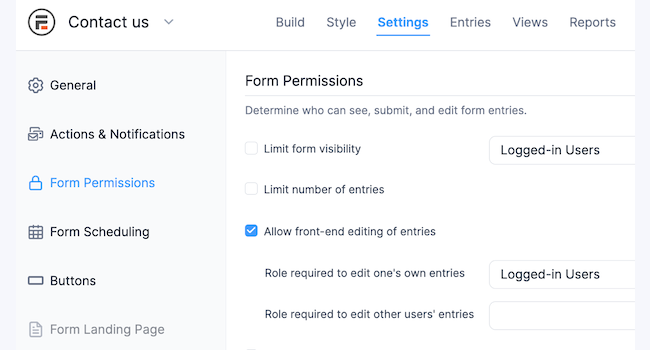
To do this, let's click Settings → Form Permissions.
Choose whether you'd like the form to be available to site administrators or logged-in users only or Allow front-end editing of entries so anyone can submit an event to add to the calendar.
Again, hit Update to save your form settings. Now let's move on to creating your calendar!
Step 2: Build your calendar view
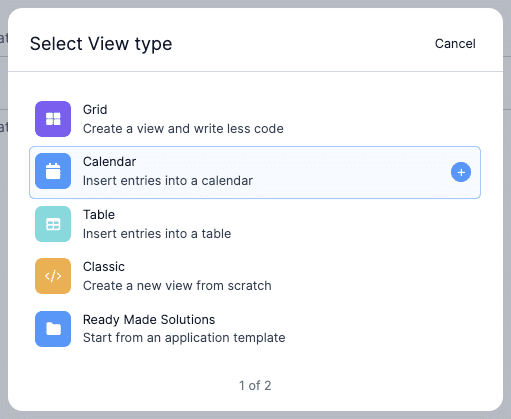
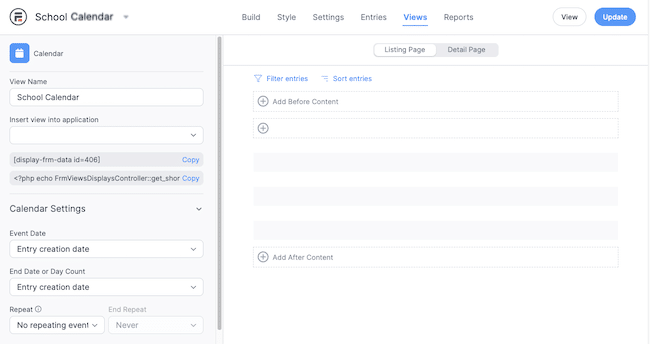
Formidable Plus plans and above have the option to display form data as a calendar, so this bit is really easy! Just click on the Views tab at the top of the screen and + Add New.
Then, pick the Calendar view type.
Select the form fields corresponding to the event date and duration (or start and end dates) and repeat event options if needed.
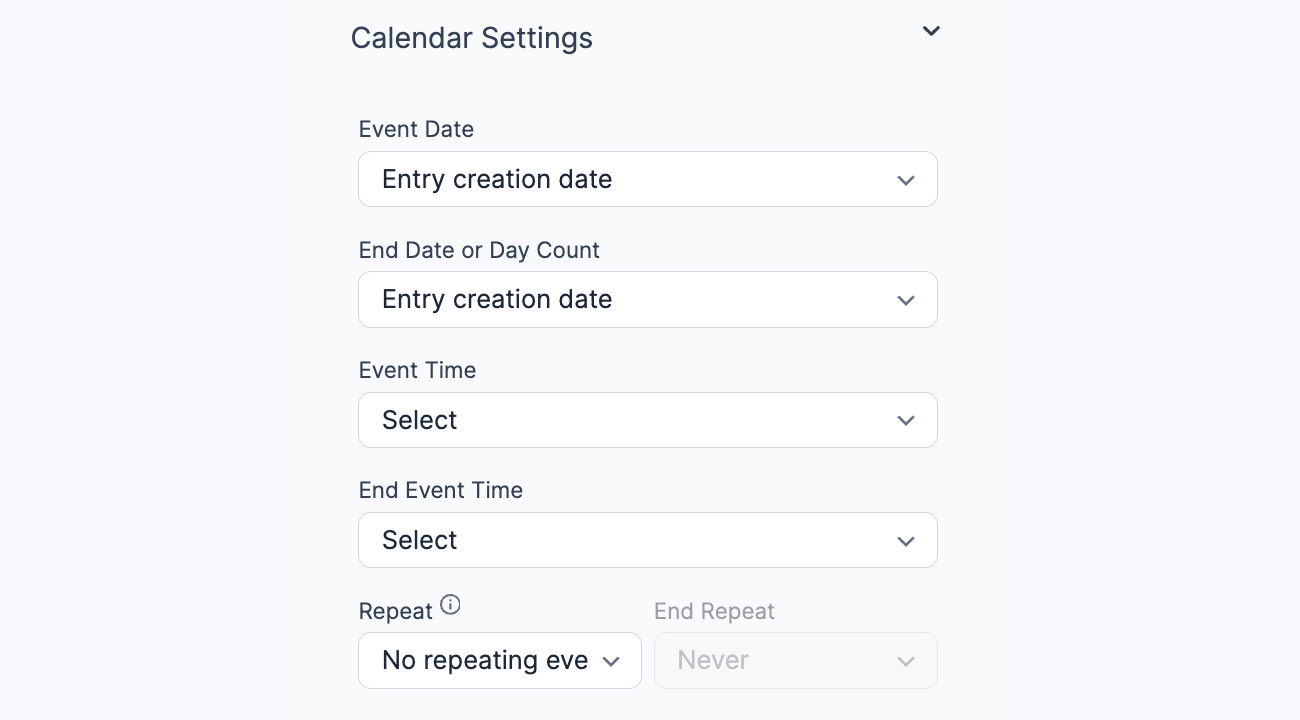
For our example, we'll use the Event start date and Event end date fields rather than the entry creation dates.
Next, we'll add our form data to the Listing Page so that the event names, and any other information we want, are displayed on the calendar.
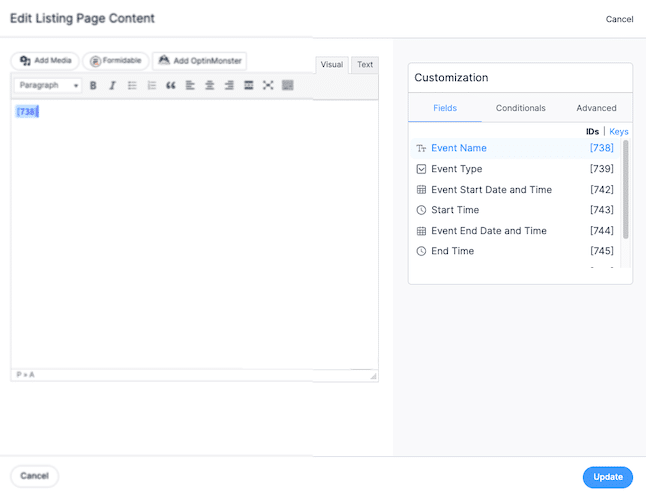
Click the + icon to edit the View Listing Page content. Let's add the event name and link it to the event detail page.
The calendar overview doesn't have space for lots of text, so keep the main content simple. Let's display just the event name in the overview with a link to learn more about each event. On our form, it looks like this:
<h3><a href="[detaillink]">[738]</a></h3>
Just swap out '738' with your unique Event Name field ID — you can find it in the Customization menu.
Click the Update button, then hit Preview for an idea of how your event calendar will look.
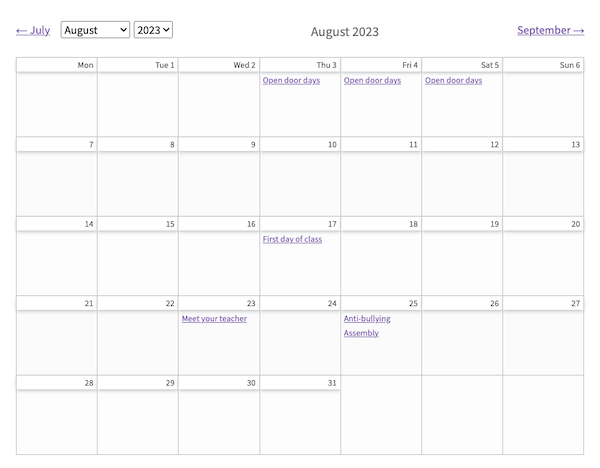
Neat, right? Play around with this event calendar demo to see exactly how it works!
Step 3: Create the event page
Back in the Views builder, toggle over to the Detail Page to add form data to the individual event page. In our case, we made event pages, but you could use the Detail Page for detailed day views and more.

We'll add the Event Name, the Start and End Date and Times, and display the uploaded image. But feel free to add as much or as little information as you want to your custom event page template!
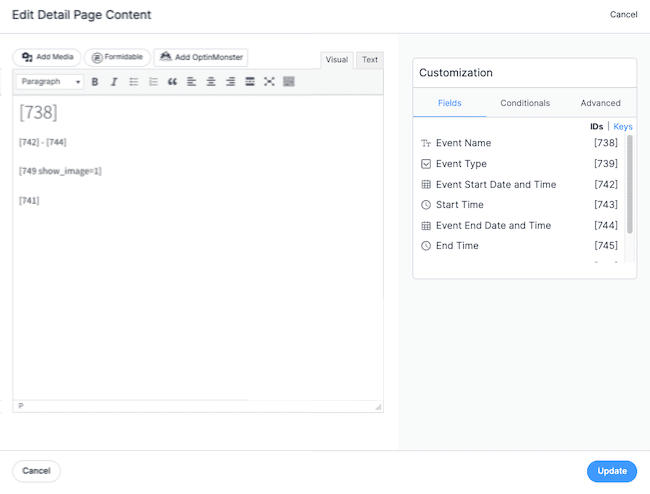
And finally, yep, you guessed it! Hit Update to save the page, and then click Preview to see what your detail page looks like.
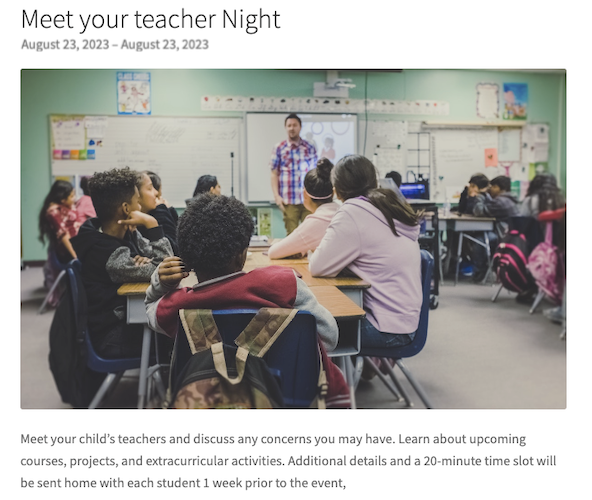
Here's our very simple event detail page for a Meet Your Teacher Night:
All that's left is to add an edit link to the View so users can edit their entries from the front end of your WordPress site. If you want.
You can add this option in either the Listing Page or the Detail Page box (or both). The edit link is only visible to the users with permission to edit that entry. So don't worry, it won't be visible to most of your visitors.
[editlink label="Edit" page_id=y]
Replace 'y' with the Page ID where your form is published. Follow these instructions to find the page ID.
And one last time, click Update to save your View. Now an "Edit" link will appear next to each entry for quick and easy event changes!
 Having troubles? Check out this knowledge base article for more help!
Step 4: Publish the calendar on your WordPress website
This last step is the quickest and easiest of them all! Simply head to the WordPress page or post on which you want to display your calendar of events.
Using the block editor, click the + button to add a block. Then, search for the Formidable Views block and click to insert it!
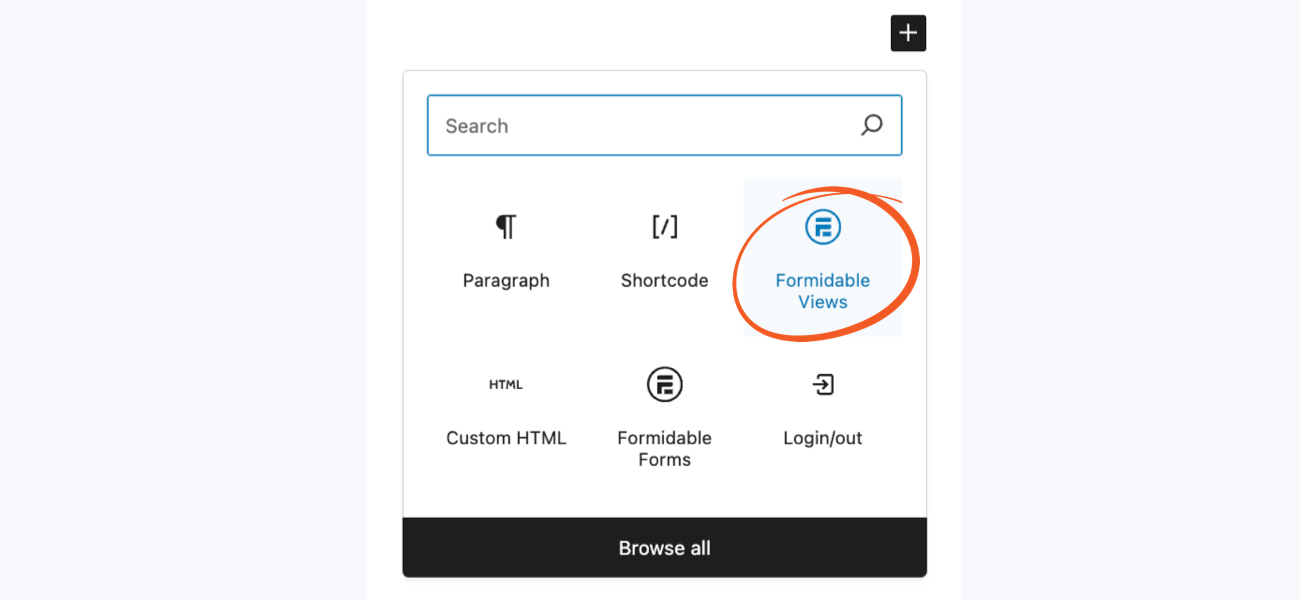
Choose your event calendar View from the dropdown menu, and your calendar should magically appear!
The best WordPress events calendar plugin
And that's it! One single WordPress events calendar plugin and four quick steps, and you've got a calendar widget that can import events from form submissions!
Plus, it looks a lot better than embedding a Google Calendar... 
Curious to know how else Formidable makes event management a breeze? Here's how to use it to make an event registration form, build an online RSVP form in WordPress, and accept credit card payments on your website so you can sell tickets or merch.
It isn't just good for events, either. With this one plugin, you can also create price calculators, viral quizzes, auto-generated personalized PDFs, plus a whole lot more.
Aren't using Formidable yet? Get started today with the most powerful form creator and data management plugin.
Learn more cool things you can do with WordPress + Formidable Forms by following us on Facebook, Twitter, and YouTube.
 How to Create Dynamic WordPress QR Codes and Auto-Fill Forms
 How to RSVP via Text With a WordPress Plugin
 How to Create RSVP Forms in WordPress