
Need a contact form that sends emails to dynamic recipients?
Do you need to route messages to different departments? Wish you could conditionally set dynamic recipients based on choices in your form? Formidable Forms does all this and more!
Every contact form plugin that I've ever used sends emails. Nearly all allow you to define CC or BCC recipients as well as your TO address. Formidable Forms does more! Built-in features allow you to dynamically control where messages are routed depending on each individual form entry.
This control of dynamic recipients makes Formidable Forms special.
Today I'll examine three main aspects of this feature, and their real world applications.
- Send different messages to each recipient using conditional logic.
- Route the same email to a list of dynamic recipients, using the Separate values approach.
- Send the same email to all recipients using email addresses that were entered in another form with the Dynamic field approach.
Send a different message to each recipient with Conditional Logic
Suppose you have three departments in your company, and a form on your website for people to leave an inquiry. You want to send each department a notification about the inquiry only if it is applicable to them.
Additionally, each message can be individually customized, so each department only receives the details applicable to them, and some information can be excluded for privacy reasons if required.
- In your form, add a field for users to choose the Department they wish to contact. For this example, I'm going to add the options Human resources, Billing and Housekeeping in a Dropdown.
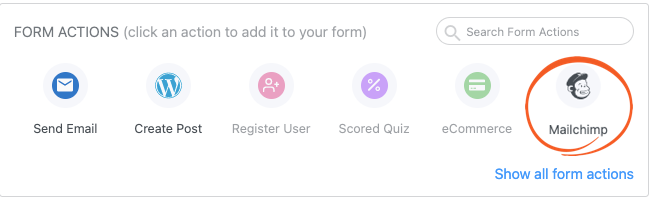
- Next, in your form go to Settings → Form Actions. Then click the Email Notification icon to add new notifications - one for each department.
![Email Notification conditional logic]()
- Enter the recipient email address in the To box. Then enter your message in the Message box. Repeat this for each department, customizing each message if you wish.
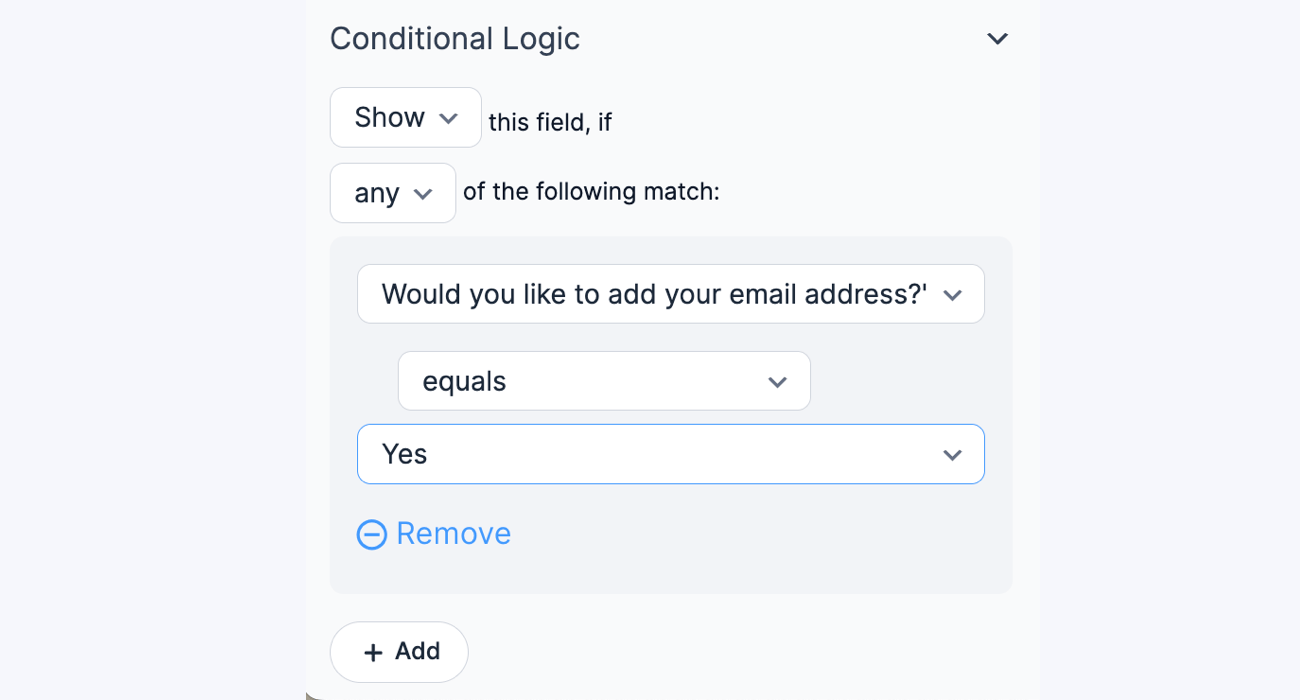
- In each of your email actions, click "Use Conditional Logic". Define the conditional logic so that each email action is only triggered when the matching selection is made by a user in the form. In this example, the email is triggered only when the 'Department' selection is equal to 'Human Resources'. Repeat this for each of your email actions.
![Email Routing dynamic recipients conditional logic]()
- Now, each department will get an email notification only when the submitted inquiry is relevant to their department. Also, when configured, the email content can be unique for each department.

Use Separate Values to route email messages
To send the same email to everyone, but have the recipients change based on a field in your form, you should use Separate Values.
Let's take the same scenario with a company that has three departments. You want to send human resources an email only if it is applicable to them; the same is true for your billing and housekeeping departments. Since the email message will be identical no matter the chosen department, this is simpler to setup. You only need to setup one email action with dynamic recipients.
![Email Routing Septerate]() As described in the first example, add a drop down or radio field to your form. Check the option to "Use separate values" in the field options.
As described in the first example, add a drop down or radio field to your form. Check the option to "Use separate values" in the field options.- Add the department for the displayed value and the email address for the saved value. When your users fill out the form, they will select the department related to their inquiry.
![Email Routing Saved Value]()
- In your Form actions, add a new notification and click on the To box. Then click on your dropdown or radio button field in the 'Customization' sidebar to add this field to the To box. Next, add show="value" to the field ID in your To box. Now, selecting "Human Resources" in the department dropdown, routes the email only to hr@example.com.
![Email Routing To Saved Value]()
 As described in the first example, add a drop down or radio field to your form. Check the option to "Use separate values" in the field options.

Use Dynamic Fields to set email recipients
Use this method to send the same email notification to all recipients, and have the recipient change based on a field in your form.
A big advantage of this method is that email addresses are hidden. Even when inspecting the code in the page, there is no way to see them. Email addresses dynamically populate using entries from another form.
Again we'll base this example on the same company with three departments. For this method we require two forms - the Contact Form as usual, and also a Data Form which will hold the list of departments and corresponding email addresses.
-
- Create a new form titled "Departments" - this is the Data Form. Add two fields: A Single Line Text field for the Department Name, and an Email Address field.
- Add an entry for each option you want your users to select from. For example, 'Human Resources' in the text field and 'hr@example.com' in the email field
![Email Routing Custom]() Next, go to your inquiry form and add a 'Dynamic Field'. In the "Import Options From" box select "Entries from a form field", choose your Data Form, and select your "Department Name" field. You can choose to display as Dropdown, Radio buttons, or Checkboxes.
Next, go to your inquiry form and add a 'Dynamic Field'. In the "Import Options From" box select "Entries from a form field", choose your Data Form, and select your "Department Name" field. You can choose to display as Dropdown, Radio buttons, or Checkboxes.- In your Form Actions, add a new email notification. Select the To box, then click on the "Department Emails" field in the Customization sidebar to add this field to the list of email recipients. Now selecting human resources as the department routes the email notification to the HR inbox.
 Next, go to your inquiry form and add a 'Dynamic Field'. In the "Import Options From" box select "Entries from a form field", choose your Data Form, and select your "Department Name" field. You can choose to display as Dropdown, Radio buttons, or Checkboxes.
So what are you waiting for? Streamline your workflow today with custom e-mail routing!
Did you know that Formidable Forms also has amazing Conditional Redirect features? Combine the two and make your contact forms work harder!
Trial Formidable Forms risk-free with our 14 day money back guarantee!
The post How to send emails to dynamic recipients from a WordPress contact form appeared first on Formidable Forms.


 Many online surveys use a


 Every license comes with 1 year of support and updates. After that year is up, renew to get continued access to support and plugin updates. The exception is the Enterprise license, which includes lifetime updates in addition to the standard 1 year of support!
 We offer renewal discounts that vary from 20-50% off for each license type. Renewal covers another full year of support and access to new add-ons and updates allowed by your license level.

 Your "Thank You" page after registration makes a MASSIVE difference to conversion rates. Use a key feature every WordPress registration plugin should have (but many lack): custom re-direct URL after submission.
 Formidable Forms makes content management so simple even your Grandma could do it. Your website pages and posts can all be
  When you manage a single website, time isn't usually an issue. But when you have hundreds of clients, and you are solely responsible for content updates on all their websites, this takes up a significant portion of your working week! This is an issue I experienced personally when I first started out as a web designer.


 I recently discovered first-hand the difference that fast file uploading can make. The project was a mobile-optimized


 Use
Use 


 Here's the clever bit that caught my eye. If you click the link to
 The Progress Maps plugin pulls data from posts to display them on a map. Because your main post types are used by different features of your theme, it's often best to create a completely new
  In your form actions, add an action to


 Today, creating a WordPress file upload form takes only a few moments. Plus, they do a lot more than just upload files. You can easily attach files to notification emails and display uploads in Posts, Pages or Views and

